
Awesome CNC Router Projects: Beginner Ideas, Files, Materials, and Build Tips
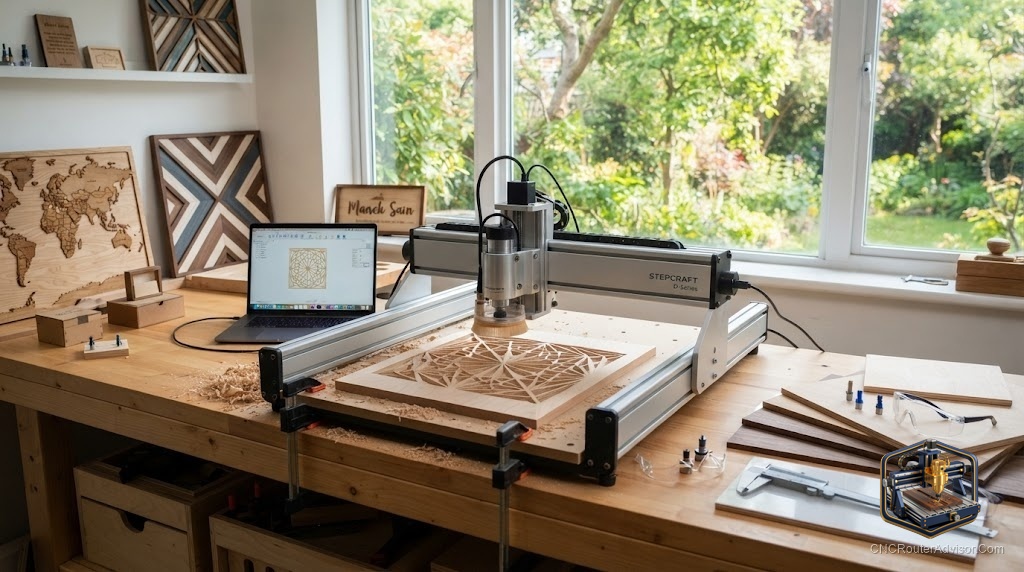
There’s a moment every new CNC owner chases: peeling the tape off a finished piece and thinking, “I made that.” The fastest way to get there is a good first project - something impressive enough to be satisfying, simple enough to actually finish. Here’s a collection of awesome, beginner-friendly router projects, plus the files, materials, and tips to nail them.
Great beginner projects to start with
These hit the sweet spot of looking great while teaching core skills:
- Personalized name signs - the classic first project; teaches V-carving and lettering.
- Address and house-number plaques - useful, giftable, and forgiving.
- Quote and inspirational signs - pure vector work, endlessly customizable.
- Engraved cutting boards - a crowd-pleasing gift (use food-safe finishes).
- Geometric wall art and animal silhouette wall art - striking, mostly 2D cuts.
- Cribbage boards - combine drilling and engraving in a compact, rewarding piece.
- Small boxes - jewelry boxes, piggy-bank boxes - introduce joinery and pockets.
- Bookends and small shelves - easy profile cuts that build confidence.
- Pet memorial photo frames - meaningful, and great practice with reliefs and lettering.
Start with signs and flat art, then graduate to boxes and light 3D as your confidence grows.
Where to get files
Every project starts with a design file:
- Download ready-made files. Maker marketplaces and free communities are full of SVG and DXF vectors for signs, art, and silhouettes.
- Design your own. Learning free vector software to make your own SVG unlocks unlimited personalized work - even simple text-on-a-path is enough for signs.
- Remember the workflow. Whatever the source, import the design into CAM, set toolpaths, and post to G-code for your machine.
Materials for beginners
- Plywood - cheap, stable, and forgiving; Baltic birch is a favorite for clean edges.
- Hardwood - walnut, maple, and cherry carve beautifully for signs and boards.
- MDF - inexpensive and flat, perfect for practice and painted signs.
- Soft plastics - great for durable signs and tags.
Start cheap. Cut your first versions in plywood or MDF before committing nice hardwood.
The tooling that makes projects shine
Most beginner projects need just two or three bits:
- A V-bit for crisp lettering and decorative detail - a versatile V-groove bit set covers most sign work.
- A straight or upcut bit for profiling and pockets - an upcut end mill set handles cutouts and clearing.
- A ball-nose bit once you move into 3D reliefs for smooth contours.
Build tips for great results
- Secure your stock. Solid workholding - clamps, tape-and-glue, or a spoilboard - prevents the shifts that ruin a cut.
- Rough then finish. For carved work, rough the shape fast, then run a fine finishing pass for smoothness.
- Mind feeds and speeds. Match them to your bit and material; test on scrap first.
- Zero carefully. Accurate work-coordinate zeroing is what makes lettering and pockets land right.
- Finish thoughtfully. Sanding, paint-fill on V-carved letters, and the right oil or sealer turn a good cut into an awesome piece.
- Keep a first machine handy. If you’re still shopping, a complete machine like the Genmitsu 3018-PROVer V2 is a proven, affordable way to make every project here.
The bottom line
The best CNC router projects for beginners are the ones you’ll actually finish - signs, plaques, engraved boards, wall art, and small boxes that look impressive while teaching real skills. Start with downloaded or simple self-made files, cut in cheap plywood or MDF first, keep a V-bit and an upcut bit on hand, and lean on solid workholding and careful finishing. Nail a few of these and you’ll be hooked.
Frequently asked questions
What’s the best first CNC project? A personalized name sign - it’s impressive, giftable, and teaches V-carving and lettering with minimal risk.
Where do I get project files? Download SVG/DXF files from maker marketplaces and free communities, or design your own in free vector software. Then run them through CAM to make G-code.
What bits do I need to start? A V-bit for lettering and a straight/upcut bit for profiling cover most beginner projects; add a ball-nose bit when you start 3D carving.