
Wood CNC Router Design Guide: Designing Parts That Cut Well
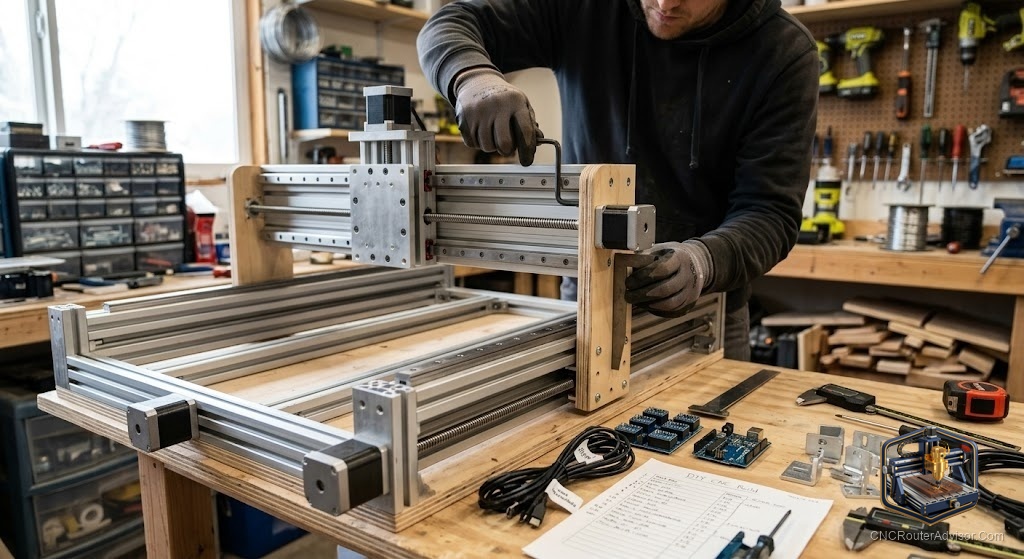
Designing for a CNC router in wood is different from designing anything else, and the designers who do not know that learn it on the machine. A design that looks perfect on screen can require impossible tool moves, leave features that the bit cannot cleanly reach, or produce parts that fit the design intent but not each other. Good CNC woodworking design is not just drawing the shape you want, it is drawing the shape you want in a way that a spinning bit can actually produce, cleanly, repeatedly, and without surprises.
Wood CNC router design is the practice of creating 2D and 3D designs specifically optimized for CNC routing in wood, MDF, and plywood, accounting for bit diameter, corner geometry, grain direction, wood movement, tolerances, and joinery methods that translate well to the routing process. A design built for CNC routing uses these constraints as an advantage, producing parts that come off the machine ready for assembly with minimal handwork.
The short version: design for the bit diameter you plan to use, add dogbone corners to internal corners so mating parts fit, account for wood movement in solid wood designs, test your fits with a kerf-adjusted slot before cutting full parts, and think about how the wood will respond to the cutting direction before deciding your profile strategy. Do those five things and your CNC wood designs will cut cleanly and assemble correctly the first time more often than not.
Designing for bit diameter: the constraint most beginners miss
A router bit cuts a circular path. Any inside corner in your design has a minimum internal radius equal to half the bit diameter, because the bit cannot produce a perfectly sharp inside corner. An 1/8 inch bit leaves a 1/16 inch radius in every internal corner; a 1/4 inch bit leaves a 1/8 inch radius.
This matters immediately when you are designing parts that mate together. If Part A has a rectangular tab that is supposed to fit into a rectangular slot in Part B, the slot will have rounded internal corners that the tab cannot enter without modification. There are two solutions: round the tab corners to match (easier for simple joinery), or add dogbone cutouts at the slot corners (most common approach for box joinery).
Dogbones: the solution for internal corners
A dogbone is a small circular cutout placed at internal corners of a slot or pocket, with its center on the corner point and its radius equal to half the cutting bit diameter. The cutout is exactly the shape a bit makes when it drills a hole at the corner, and it removes the material that the bit leaves as a radius. A mating square tab then fits fully into the slot because the corner material has been cleared.
Dogbones are one of the most distinctive features of CNC-designed wood joinery. They are not cosmetic; they are functional. Designs that use tabs-and-slots without dogbones typically cannot be assembled unless the tabs are hand-sanded or trimmed at the corners.
Most CAM software (VCarve, Fusion 360, Carbide Create) has a dogbone or T-bone generator that adds them automatically to selected corners. Use it.
Tolerances: designing for a fit, not a press
CNC routing cuts to a nominal dimension, but wood and MDF vary slightly in thickness, bits wear over time, and the kerf (the material removed by the bit) affects slot dimensions. Designing parts at exact matching dimensions (tab width = slot width exactly) produces press-fit or interference-fit joints that require mallet encouragement to assemble. A small clearance (typically 0.1 to 0.3 mm on each side for a sliding fit) produces parts that assemble smoothly.
The right clearance for your machine and material requires a test cut: cut a calibration slot and matching tab in the same sheet at your intended feed rates, assemble them, and adjust the design dimensions based on the actual fit. Do this once for each material and bit combination and save it as a reference for future work.
Grain direction and cutting strategy
Wood grain affects cut quality in CNC routing. Cutting against the grain (climb cutting, or cutting where the bit rotation direction opposes the feed direction) can lift grain fibers and leave a torn surface. Cutting with the grain (conventional cutting, where bit rotation direction matches the feed) generally produces a cleaner surface in solid wood.
For plywood and MDF, grain direction matters less because the laminated or homogeneous structure is more isotropic. For solid hardwood, especially for face-grain profiles and carved panels, plan your toolpath direction to cut with the grain where surface finish is critical.
Designing for solid wood movement
Solid wood moves with humidity changes in a way that MDF and plywood do not. A design that is dimensionally tight in dry winter conditions may bind and crack in humid summer if it does not allow for wood movement. The classic CNC mistake in solid wood is a mortise that is designed at winter dimensions: the tenon fits in winter and splits the mortise cheeks by spring.
The standard solutions: oversized slots with hardware that allows movement (figure-8 clips, Z-clips), breadboard ends with elongated slots at the tongue-and-groove joint, and avoiding gluing solid wood panels across the grain without movement allowances.
Joinery that works well in CNC wood design
Some joinery methods translate extremely well to CNC routing. Box joints (finger joints) are the classic example: precise, interlocking fingers are exactly what a CNC router excels at, and a well-designed box joint is faster and stronger than most hand joinery at the same effort. T-slot joinery for flat-pack furniture cuts cleanly in plywood and MDF and assembles without glue for furniture that ships flat. Inset hinges, hardware mortises, and pocket holes can all be programmed as repeatable operations.
For the bits that produce clean joinery in wood, a quality compression spiral handles plywood and MDF profiling without tearout on both faces. The Amana Tool 46170-K compression spiral is the most recommended specific compression bit in CNC woodworking communities for this application.
Our guide on how to choose a CNC router addresses machine specs for woodworking applications.
The takeaway: good CNC wood design is not harder than other design work, just different. Account for bit diameter in internal corners, add dogbones, test your fits before committing to full sheets, and design solid wood projects with movement allowance. Do that and the machine produces exactly what the design intends.
Frequently asked questions
What is a dogbone in CNC design? A circular cutout added to internal corners of slots and pockets, sized to match the cutting bit’s radius, so that square mating parts can fit fully into the slot without interference from the bit-radius corner.
How much clearance should I leave for a sliding fit in wood CNC joints? Typically 0.1 to 0.3 mm per side, but the exact amount depends on your machine’s accuracy, the material, and the bit. Always cut a test joint before committing to full sheet production.
What is the minimum internal corner radius in CNC routing? Half the diameter of the cutting bit. An 1/8 inch bit leaves 1/16 inch radius corners. You cannot produce a perfectly sharp inside corner with a round bit.
Does grain direction affect CNC cut quality in wood? Yes, in solid wood especially. Cutting against the grain can lift fibers and leave a torn surface. Conventional cutting (with the grain) typically produces a cleaner finish.
What joinery methods work best in CNC wood design? Box joints, tab-and-slot with dogbones, T-slot connections, and hardware mortises (for hinges, connectors, etc.) all translate extremely well to CNC routing.
What is the best bit for cutting plywood on a CNC router? A compression spiral bit, which has an upcut flute at the tip and a downcut flute higher on the shank, cleanly cutting both faces of the plywood in a single through-cut pass.
References
- Vectric, “Designing for CNC: Toolpaths and Joinery” — https://www.vectric.com/
- Inventables, “CNC Design Fundamentals” — https://www.inventables.com/
- CNCCookbook, “CNC Router Woodworking Guide” — https://www.cnccookbook.com/cnc-router/