
CNC Router Sign Explained: Uses, Setup, and Key Considerations
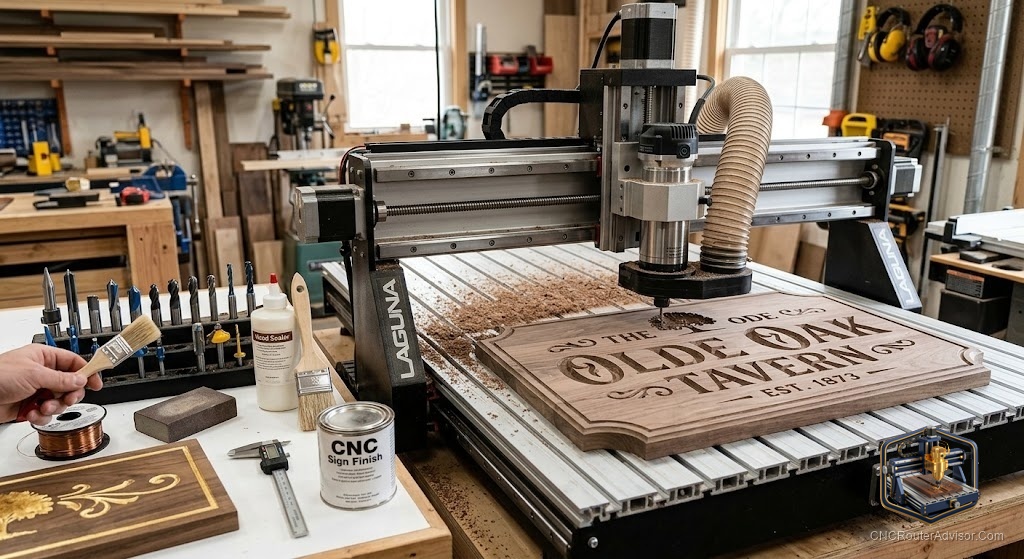
There is a reason so many people buy their first CNC router with signs in mind. A carved wooden sign is the kind of project that turns heads, sells well at markets, and gives you an immediate sense of what the machine can do. A name sign for a nursery, a house number plaque, a quote carved into walnut, these are approachable, satisfying, and genuinely useful. This guide walks through how a CNC router makes signs and what you need to get clean, professional results.
Why signs are the perfect starting project
Signs hit a sweet spot. They are forgiving enough for a beginner, impressive enough to be worth making, and varied enough that you never run out of ideas. A single machine can carve a personalized name sign, an address plaque, a quote sign, geometric wall art, or an animal silhouette, all from the same basic workflow. Because the designs are largely two-dimensional with some depth, they teach you the core skills without demanding advanced three-dimensional carving right away.
The workflow from idea to finished sign
Making a sign follows a clear path. You start with a design in software, using vector files such as SVG or DXF for lettering and shapes. You generate toolpaths that tell the machine where to cut and how deep. Then the machine carves the design into your material, and you finish it with sanding, paint, or stain. The magic is repeatability, so once a design works, you can produce it again and again with identical results.
Tooling that makes signs look professional
Bit choice does most of the work in sign making. A V-bit is the star of the show for lettering, since its angled point carves crisp, tapered letters that look hand-cut. A straight or spiral bit handles pockets and clearing larger areas, and a compression bit leaves clean edges on plywood without splintering the top or bottom face. A quality IDC Woodcraft compression bit keeps profile cuts clean on layered material, which matters when a splintered edge would ruin an otherwise perfect sign.
Choosing a machine for sign work
Sign making does not demand an industrial machine, but frame rigidity and a decent work area help. For someone building a sign-making hobby or small business, a capable mid-size router is a strong fit. The FoxAlien Masuter Pro offers a generous work area for larger signs, and the Genmitsu PROVerXL 4030 brings extra rigidity that helps letters and edges come out clean. Either gives you room to grow from small plaques to substantial pieces.
Setup for clean signs
Good signs come from good habits. Hold the material flat and secure so it cannot lift or shift, because even a slight movement shows up in the lettering. Surface your material or spoilboard so the workpiece sits truly flat, which keeps carve depth consistent across the whole sign. Manage dust so you can see the cut and keep the air clean. And run a light finishing pass where it counts, so letter edges are crisp rather than fuzzy.
Finishing that sells the piece
The carve is only half the sign. Finishing is where it comes alive. Sand lightly to remove fuzz, then paint the recessed areas or the raised faces depending on your design. A common technique is painting the carved letters a contrasting color, letting it dry, then sanding the surface clean so only the recesses hold paint. Stain and clear coats bring out wood grain on natural pieces. The finish is what turns a carved board into something people want to hang.
Turning signs into more
Signs are a starting point that quickly becomes a craft. From simple name plaques you can grow into layered signs, three-dimensional elements, mixed materials, and custom commissions. The skills you build, design, tooling, workholding, and finishing, carry into every other kind of CNC project. Start with a sign, and you are really starting a much longer journey.