
DIY CNC Router Table: Design Choices, Parts List, Cost, and Build Steps
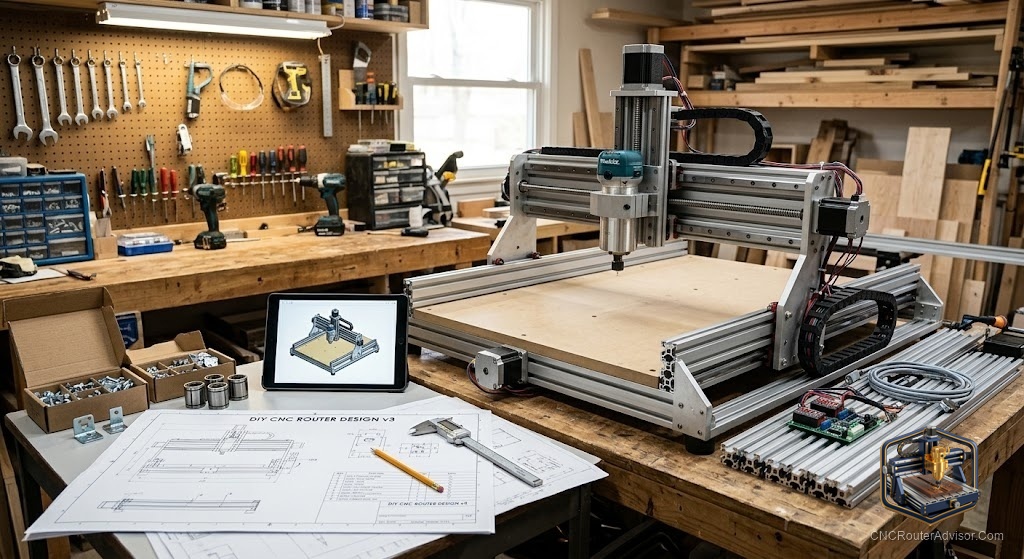
Building your own CNC router table is one of those projects that looks intimidating from the outside and obvious from the inside. Thousands of makers have done it, the designs are well proven, and the payoff is a machine sized and specified exactly for your shop instead of a compromise off a shelf. It is also a genuine commitment of time and problem-solving, and going in clear-eyed about that is the difference between a satisfying build and a half-finished frame gathering dust.
A DIY CNC router table is a machine you build yourself from a frame, a motion system, a spindle, and a controller, choosing the design and parts to match your work, your budget, and your appetite for tuning. This guide covers the main design choices, a realistic parts list, what drives the cost, and the build steps in order, so you know what you are signing up for before you buy a single component.
Design choices to make first
Every decision downstream flows from a few early choices:
- Size. Decide the work area first, because it drives frame length, motion component cost, and rigidity engineering. Bigger is not free.
- Frame material. Aluminum extrusion is easy to work with and forgiving for a first build. Welded steel is far more rigid but demands fabrication skill. Torsion-box plywood is a budget-friendly middle path.
- Motion system. Belts are cheap and fast but flex, lead screws are affordable and accurate at small sizes, and ball screws are the most rigid and precise at the highest cost.
- Drive style. Rack and pinion suits large machines, screws suit smaller ones.
- Spindle. A trim router is cheap and simple, while a VFD water-cooled spindle is quieter, more powerful, and better for long runs.
A realistic parts list
A typical build gathers these:
- Frame material (extrusion, steel, or plywood) and hardware.
- Linear motion: rails or supported rods, plus bearings or V-wheels.
- Drive: ball screws, lead screws, or belts and pulleys, with anti-backlash provisions.
- Stepper motors (commonly NEMA 23) and drivers.
- A controller board and power supply.
- A spindle or trim router and a mount.
- A gantry and plates, either bought or cut.
- A wasteboard or spoilboard.
- Wiring, drag chain, limit switches, and an emergency stop.
What drives the cost
The outlay scales with the choices above, not with a fixed figure. Size is the biggest lever, since a larger machine needs longer rails, bigger screws, stronger motors, and more frame. Motion quality is the next lever: ball screws and profile rails cost far more than belts and V-wheels but buy rigidity and precision. The spindle choice matters too, with a VFD spindle costing more than a trim router. A DIY build can come in below a comparable ready-made machine, but only if you value your time at zero, so weigh the hours honestly.
Build steps in order
- Finalize the design and work area, and source a proven plan or kit if this is your first build.
- Build the frame square and flat, because everything references it. Check diagonals.
- Install the linear motion for each axis, ensuring smooth, slop-free travel.
- Mount the drive components (screws or belts) with proper anti-backlash and alignment.
- Add the gantry and Z axis, keeping it square to the table.
- Wire the electronics: motors, drivers, controller, power, limit switches, and an emergency stop.
- Mount the spindle and connect its control and any cooling.
- Square and calibrate, setting steps per unit and checking that commanded moves match measured moves.
- Surface the spoilboard flat to the machine, then cut a test part.
The honest verdict
A DIY CNC router table is the right project if you enjoy building and tuning as much as cutting, and you want a machine specified for your exact work. It rewards you with knowledge that makes every future repair and upgrade easier. It is the wrong project if you want to be cutting parts this weekend, because a first build takes real time and troubleshooting. If you are unsure, start from a proven plan or a kit rather than a blank sheet, build the frame dead square, and do not skip calibration. That is where DIY machines succeed or fail.
Frequently asked questions
Is building a DIY CNC router table worth it? It is if you enjoy building and want a machine sized to your work, and if you value the knowledge for future repairs. It is not if you want to cut parts immediately.
What frame material should a first build use? Aluminum extrusion is the most forgiving and easiest to work with. Welded steel is more rigid but needs fabrication skill, and torsion-box plywood is a budget option.
What motion system is best? Ball screws and profile rails are the most rigid and precise but cost the most. Lead screws suit smaller machines, and belts are cheap and fast but flex.
What parts do I need to build one? A frame, linear motion, a drive system, stepper motors and drivers, a controller and power supply, a spindle and mount, a gantry, a spoilboard, and wiring with limit switches and an E-stop.
Is a DIY build cheaper than buying? It can be, especially at larger sizes, but only if you value your time at zero. Factor the hours of building and troubleshooting before deciding.
Should I follow a plan or design from scratch? For a first build, follow a proven plan or start from a kit. Designing from scratch adds a large learning burden on top of an already demanding build.
What is the most important build step? Building the frame square and flat, then calibrating so commanded moves match measured moves. Everything references the frame, and skipping calibration guarantees inaccuracy.