
Do It Yourself CNC Router: Design Choices, Parts List, and Build Steps
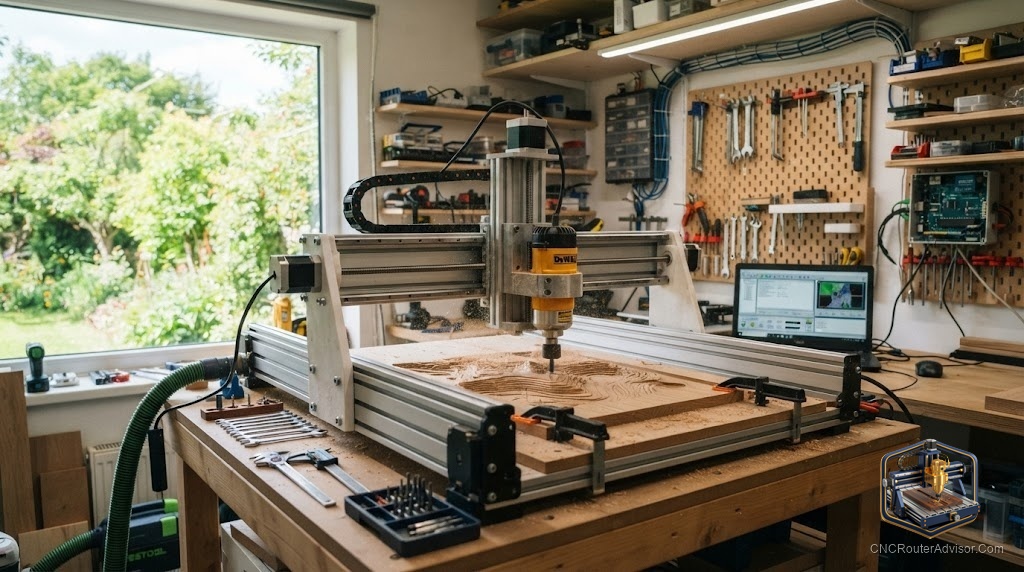
There are two kinds of people who search for a do it yourself CNC router. The first wants to learn how a machine works by building one from the frame up. The second just wants a working machine and heard that DIY saves money. Those are very different projects, and being honest about which one you are will save you weeks of frustration. Building a router from scratch is deeply rewarding and genuinely educational. It is also slower, harder, and more error prone than most beginners expect.
This guide covers the real design choices, a grounded parts list, and the build steps, along with a straight answer about when a DIY build makes sense and when a kit is the smarter path.
What a DIY CNC router actually is
A DIY CNC router is a machine you assemble yourself, either from a matched kit or from individually sourced components. A true from scratch build means you choose and integrate every part: the frame, the motion system, the drive mechanism, the electronics, and the controller. The reward is understanding, customization, and the satisfaction of running a machine you built. The cost is time, troubleshooting, and the risk of mismatched parts that never quite work together.
The result is the same kind of machine you would buy: a gantry moving a cutter across a work area in the X, Y, and Z axes, cutting wood, plastic, and, if built rigid enough, soft aluminum.
The short answer
Build from scratch if the learning is the point and you enjoy problem solving. Buy a kit if you mainly want a working machine, because a kit gives you matched parts and a proven design with far less risk. A middle path, buying a well documented open source design and sourcing its exact parts list, gets you customization with less guesswork. Whatever you choose, budget for good linear motion and a rigid frame, because those two decisions determine whether your machine cuts cleanly or chatters. Cheaping out on rigidity is the classic DIY regret.
Design choices that shape everything
Frame material comes first. Aluminum extrusion is the popular DIY choice because it is easy to work with and reasonably stiff. A steel frame is stiffer and better for heavier cutting but harder to fabricate. Rigidity here sets your ceiling for finish and material.
Motion and drive come next. Your options are timing belts, lead screws, or ball screws, riding on linear rails or V-wheels. Ball screws on linear rails give the best precision and least backlash, while belts and V-wheels cost less and suit lighter work. This single choice does more for cut quality than almost anything else.
Work area is the third. Bigger beds need stiffer structure to stay rigid over longer spans, so size does not come free. Decide your real project size before you scale the frame up.
A grounded parts list
A typical DIY build includes a frame from aluminum extrusion or steel, a gantry plate to carry the spindle, and a motion system of ball screws or lead screws with an anti-backlash nut, running on linear rails or V-wheels. Drive comes from stepper motors, commonly NEMA 23 for the main axes and sometimes NEMA 17 for lighter duty, wired to stepper drivers.
Electronics center on a GRBL controller board that turns G-code into motion, plus a power supply and limit switches. For cutting, you add a spindle, either a trim router or a VFD spindle with its own control. Round it out with a wasteboard, workholding, and wiring. Matching these parts is the hard part, which is exactly why kits and documented designs exist.
Build steps in order
The sequence matters. Assemble and square the frame first, because everything references it. Install the linear motion and drive, checking that each axis moves smoothly with no binding before adding load. Mount the gantry and spindle. Wire the electronics, connect the controller, and set up limit switches. Then configure the firmware, set your steps per unit, and test motion with the spindle off. Only after motion is proven clean do you make a first light cut in scrap. Rushing past the squaring and motion checks is how builds end up with skewed, chattering cuts.
Who should skip a scratch build
Skip building from scratch if you want a working machine soon, if troubleshooting electronics frustrates you, or if you have no interest in the engineering. You will get to clean parts faster and with less heartache from a kit. Skip it too if your budget is tight and you assume DIY is automatically cheaper, because a scratch build with quality ball screws and a rigid frame is not the bargain people imagine once you count the failed parts and time. Build for the love of building, not just to save money.
Comparison: scratch build vs kit vs documented design
| Path | Best for | Effort | Main risk |
| Scratch build | Learning and full customization | Highest | Mismatched parts, long timeline |
| Documented open design | Custom with less guesswork | High | Sourcing exact parts |
| Matched kit | A working machine fast | Low to moderate | Less customization |
If you decide a kit is the smarter route, the VEVOR Evolution 4 offers a large assemble it yourself platform at this listing, and the FoxAlien XE-PRO with a ballscrew motion system is a solid smaller kit at this listing. Well regarded community kit designs like BobsCNC and open source builds such as the PrintNC are also worth researching directly if customization is your goal.
The verdict
A do it yourself CNC router is one of the most satisfying projects in the hobby, but only if you are building for the right reason. If the learning and customization excite you, commit to a rigid frame and quality linear motion, follow a documented design, and take the squaring and motion checks seriously. If you simply want a machine that cuts, a matched kit gets you there faster, cheaper in effort, and with far less risk than a scratch build. Be honest about which person you are, and the DIY path becomes a joy instead of a slog.
Frequently asked questions
Is building a DIY CNC router cheaper than buying one? Not always. A scratch build with quality ball screws and a rigid frame can cost as much as a kit once you count failed parts and your time. DIY saves the most when you already have parts or value the learning over the savings.
What is the most important part of a DIY build? Frame rigidity and the linear motion system. Ball screws on linear rails and a stiff frame determine cut quality more than anything else. Skimping there causes chatter and poor finish no matter what else you do.
What stepper motors should I use? NEMA 23 motors are common for the main axes because they provide good torque, with NEMA 17 sometimes used for lighter duty. Match the motors to your frame and drivers rather than oversizing blindly.
What controller do DIY routers use? Most use a GRBL controller board, which is well documented, widely supported, and turns G-code into motion. Its large community makes troubleshooting far easier for a first build.
Should a beginner build from scratch? Only if the building itself is the goal. Beginners who mainly want a working machine are usually happier with a matched kit or a well documented design, which reduces the risk of mismatched parts and long delays.
How long does a DIY CNC router build take? A kit can go together in a day or a weekend. A scratch build often takes weeks once you account for sourcing parts, fabrication, wiring, firmware setup, and the inevitable troubleshooting.
References
- Instructables, DIY CNC Router: https://www.instructables.com/DIY-CNC-Router/
- CNC Router Info, How to Choose a CNC Router: https://cncrouterinfo.com/guides/how-to-choose-a-cnc-router/
- CNC Dad, Best CNC Router for Beginners: https://www.cnc-dad.com/blog/best-cnc-router-for-beginners/