
CNC Router Programing: From Design to a Clean First Cut
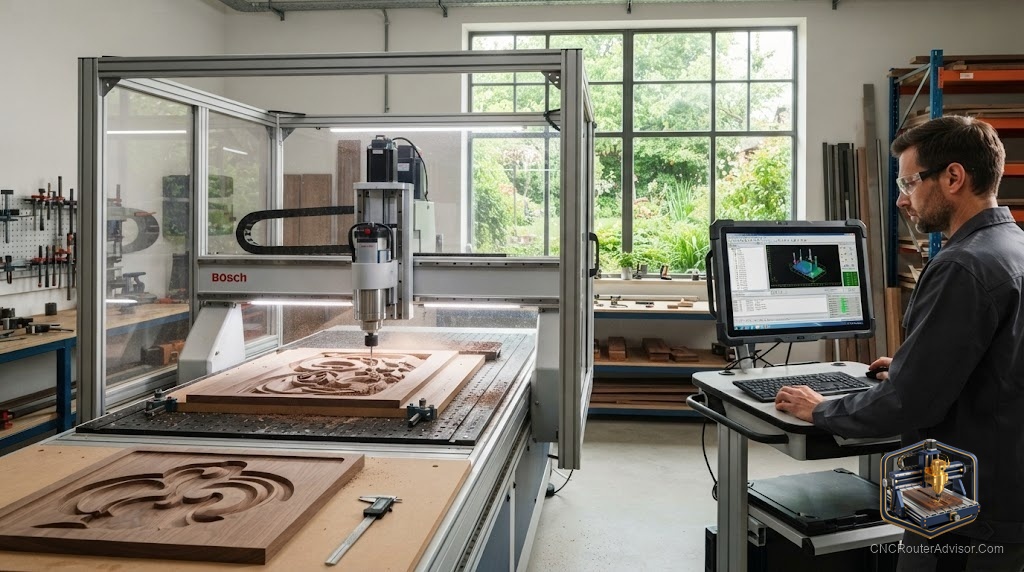
Programming a CNC router sounds intimidating until you realize you are almost never typing code by hand. The word scares beginners into thinking they need to learn a machine language. In practice, programming a router today means drawing a part, telling software how you want it cut, and letting that software write the instructions. The skill is real, but it is closer to careful setup than to coding.
I have taught more than a few people their first job, and the ones who struggle almost always struggle with the same three or four steps. Let me walk you through the whole path so your first cut succeeds instead of teaching you an expensive lesson.
What programming a CNC router actually means
A CNC router is a Computer Numerical Control machine that moves a spinning cutter across the X, Y, and Z axes. It follows a file called G-code, which is a plain list of coordinates and commands describing where the tool goes, how fast, and how deep. Programming the router is the process of producing that G-code correctly for your part, your tool, and your material.
That process has three stages. First you design the part in CAD software. Then you use CAM software to choose tools and cutting strategies and generate the toolpaths. Finally a controller program sends the resulting G-code to the machine and lets you set your starting position and run the job. You rarely write G-code by hand. Your job is to make good choices at each stage so the automatically generated code does what you intend.
The short answer
To program a CNC router, design your part, generate toolpaths in CAM with the correct tool and feeds and speeds, confirm the post-processor matches your controller, then set your work zero and run the job. The single most important habit is to simulate the toolpath before you cut, because toolpath simulation catches the mistakes that otherwise ruin material and break bits.
Beginners get the fastest results with software that combines design and toolpaths in one place, such as Carbide Create or Easel, then move to Fusion 360 or Vectric as their ambitions grow. Get the workflow right on a forgiving machine first. A capable, community-backed starter like the Genmitsu 3018-PROVer V2 is a low-risk place to learn the full programming loop: Check on Amazon
Stage one: design in CAD
Everything starts with an accurate drawing. In CAD you define the exact shapes, dimensions, and depths of your part. Precision here saves you later, because the machine will faithfully reproduce any mistake you make. Keep your design to real measured dimensions, set a clear origin, and think about which features are pockets, which are profiles, and which are engraving before you move on.
Good design habits make programming easier. Grouping features by the tool that will cut them, and keeping your geometry clean without stray or doubled lines, prevents confusing toolpaths downstream. Messy vectors are one of the most common reasons a first job behaves strangely.
Stage two: generate toolpaths in CAM
CAM is where design becomes a plan for cutting. Here you assign a tool to each feature, choose a strategy such as profiling, pocketing, or V-carving, and set your feeds and speeds, depth of cut, and stepover. This stage is the heart of programming, because these choices decide whether the cut is clean, fast, and safe or rough, slow, and dangerous.
Set the tool geometry to match the bit you will actually use, choose conservative depths for your first runs, and pay attention to cut direction. When you finish, the CAM software generates the G-code. Before you export it, run the toolpath simulation. Watching the virtual tool move through the part reveals collisions, missed regions, and depth errors while they are still free to fix.
Stage three: the post-processor and controller
A post-processor formats the generated G-code for your specific controller. This small detail causes an outsized share of failed first jobs. If you export code with the wrong post, the machine may ignore commands, move to the wrong place, or refuse to run. Pick the post-processor that matches your controller, which for most hobby machines means a GRBL-compatible option.
With correct G-code in hand, a controller or sender program takes over. You use it to jog the machine, set the work zero that tells the router where your material sits, and start the cut. Setting zero accurately is as important as the code itself, since a perfect program run from the wrong origin still cuts in the wrong place.
The habits that separate clean cuts from crashes
| Habit | Why it matters |
| Simulate every toolpath | Catches collisions and depth errors before cutting |
| Match the post-processor | Prevents ignored or wrong commands |
| Set work zero carefully | Ensures the cut lands where you designed it |
| Start conservative on feeds and depth | Protects bits and material while you learn |
| Secure workholding first | A shifting part ruins the job and the tool |
Where beginners get stuck
The most common failure is skipping simulation and discovering a mistake only after it has cut into the material. The second is a mismatched post-processor producing baffling behavior. The third is a bad work zero, where the program is perfect but the origin is wrong. The fourth is optimistic feeds and speeds that break bits. Every one of these is preventable with a slow, deliberate first run.
Who should take a different path
If you have no interest in learning software and only need a handful of parts, it can make more sense to have a routing service cut them for you rather than climbing the programming curve. And if you want to learn but feel overwhelmed, do not start with Fusion 360. Start with Easel or Carbide Create, complete a simple sign, and build from a success rather than a struggle.
The verdict
Programming a CNC router is a workflow, not a coding language. Design carefully in CAD, make smart tool and feed choices in CAM, match your post-processor, set your zero, and simulate before you cut. Do those things in order and your first job will succeed, which is the confidence you need to attempt harder ones. Learn the loop on forgiving software and a forgiving machine, then let more capable tools follow your ambitions.
The machine only does what you tell it. Programming well is simply the art of telling it clearly.
Frequently asked questions
Do I need to know how to write G-code? Almost never. CAM software generates G-code from your design and settings. Understanding the basics helps with troubleshooting, but you do not write it by hand for normal work.
What software do I need to program a CNC router? A CAD program to design, a CAM program to generate toolpaths, and a controller or sender to run the machine. Many beginner tools combine design and CAM in one window.
What is a post-processor? It formats the generated G-code for your specific controller. Using the wrong one is a leading cause of failed first jobs, so match it to your machine.
Why did my first cut go wrong even though the program looked fine? Often the work zero was set incorrectly or the post-processor did not match the controller. Simulate the toolpath and confirm both before running.
How do I choose feeds and speeds? Start with conservative values from your tool maker or software presets, then adjust based on how the cut sounds and looks. Too slow causes rubbing, too fast breaks bits.
Is programming a CNC router hard to learn? The workflow is very learnable in a weekend on simple software. Mastery of feeds, speeds, and strategy takes longer, but your first successful cut comes quickly.
References
- CNCRouterInfo, how to choose a CNC router: https://cncrouterinfo.com/guides/how-to-choose-a-cnc-router/
- Autodesk Fusion 360 CAM learning resources: https://www.autodesk.com/products/fusion-360
- GRBL firmware project: https://github.com/gnea/grbl