
CNC Routing Tables Guide: Compatibility, Setup, and Upgrade Options
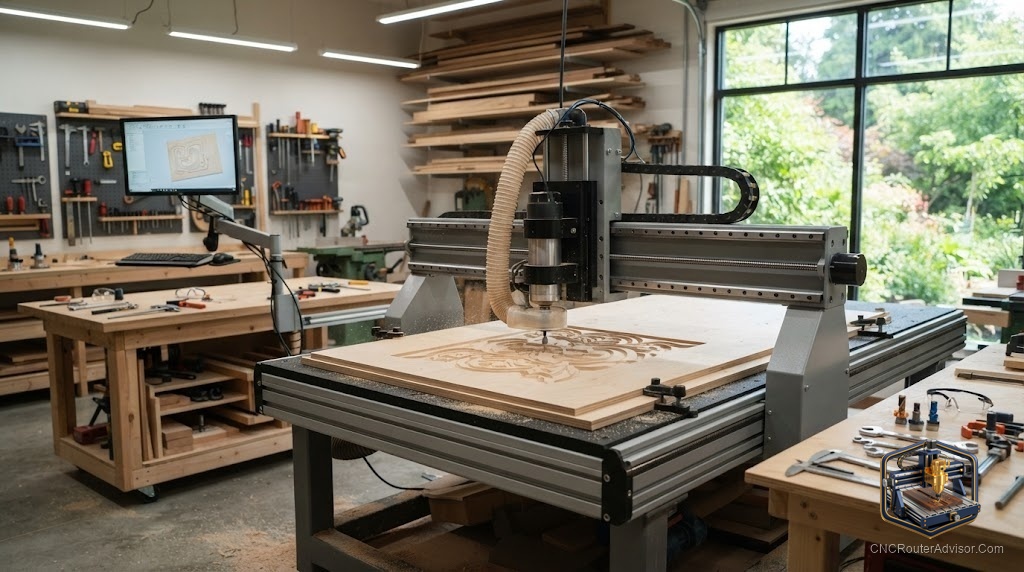
The table is the part of a CNC router that people notice last and appreciate most. It is the flat, sturdy surface that holds your material, anchors your workholding, and gives the whole machine something to reference. A good routing table makes clean, accurate cuts feel effortless, while a poor one undermines even a capable machine. Whether you are choosing a machine, setting one up, or improving what you have, understanding the table is time well spent.
What a CNC routing table is
A CNC routing table is the bed of the machine, the surface over which the gantry carries the cutter. It supports the material, provides mounting for a spoilboard or wasteboard, and serves as the base for workholding such as clamps, a clamping kit, or hold-down systems. Its flatness and rigidity directly affect cut quality, because a table that flexes or sits unevenly translates straight into inconsistent cuts.
Tables come in many sizes, from compact desktop beds to large 4x8 surfaces built for full sheets of material.
Sizing the table to your work
Table size is really work-area size, and it should match the projects you actually plan to make. A large table like a 4x8 handles full sheets and is common in sign shops and cabinet work, while a compact table suits smaller parts and tighter spaces. Bigger is not automatically better, since a large table demands more floor space, more material to surface, and often more machine. Choose the size that fits your real projects and your shop, with a little room to grow.
Choosing a machine with a solid table
Because the table is integral to most machines, judging it means judging the machine. Look for a rigid frame and bed, since flatness and stiffness are what keep cuts clean. For hobby and small-shop work, capable machines with well-built beds include the FoxAlien Masuter Pro for a generous work area and the Genmitsu PROVerXL 4030 for extra rigidity. Either gives you a stable table to build a workflow around.
Setting up the table
Getting the most from a table starts with the spoilboard. Mount a flat spoilboard, usually MDF, on the bed to protect the machine and give the cutter something to plunge into on through-cuts. Surface the spoilboard so it is flat and parallel to the machine’s motion, which keeps carve depth consistent across the whole surface. A Whiteside 6210 surfacing bit makes quick work of flattening the board and leaves a clean reference surface. Level and secure the table so it cannot shift, and set your workholding on top of the surfaced spoilboard.
Workholding on the table
The table is your foundation for holding material down. Clamps at the edges, a clamping kit, threaded inserts, or a hold-down system all keep the workpiece from shifting or lifting, which is essential for both quality and safety. Pair solid hold-down with good dust extraction so the cut stays clear. The combination of a flat, surfaced table and secure workholding is what turns rough, inconsistent cuts into clean, repeatable ones.
Upgrade options
As your work grows, the table is a natural place to improve. A threaded-insert or T-slot surface speeds up clamping and expands what you can hold. A dedicated hold-down or vacuum system suits production work. And a well-maintained, regularly resurfaced spoilboard keeps every job accurate. Even a simple, flat MDF-topped table serves most users well, so start there, keep it flat and secure, and upgrade the workholding as your projects demand.
The surface that ties it all together
The routing table rarely gets the spotlight, but it quietly determines how clean and accurate your work turns out. Size it to your projects, keep it flat and surfaced, hold your material securely, and improve the workholding over time. Get the table right, and the rest of the machine can do its best work.