
CNC Router with Laser Guide: Compatibility, Setup, and Upgrade Options
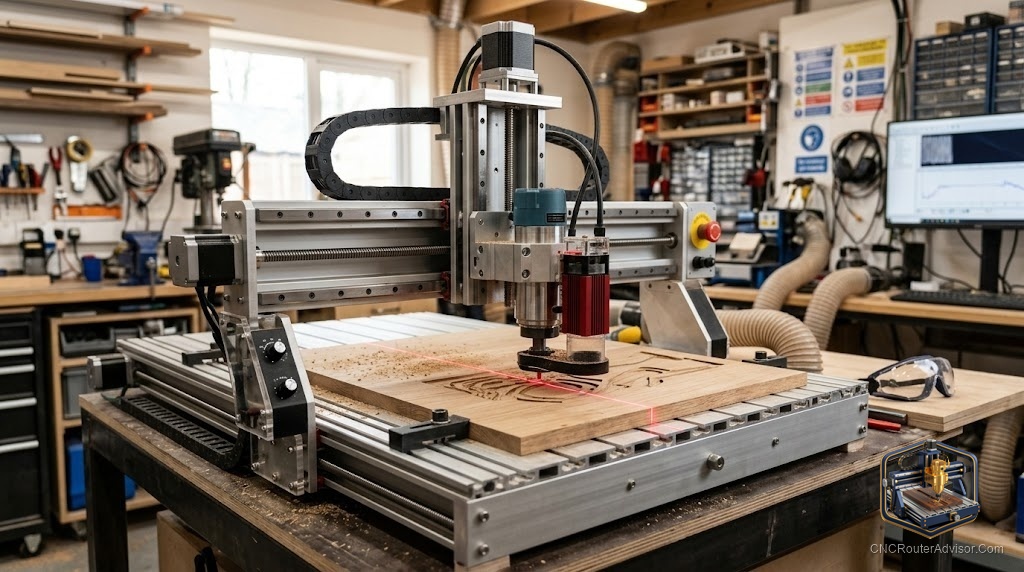
There is a special kind of satisfaction in owning a machine that can both carve and burn. Add a laser module to a CNC router and the same gantry that cuts a wooden sign in the morning can engrave a photo-detailed design into it in the afternoon. It is one of the most popular upgrades in the hobby, and for good reason. A laser opens up engraving, marking, and cutting thin materials without buying a second machine. This guide covers how to add one, what fits, and how to get clean results.
Two tools, one machine
A CNC router removes material with a spinning cutter. A laser removes or marks material with focused light. Bolting a laser module to your router lets one machine do both, using the same motion system across the X and Y axes and the same controller. The router handles carving, cutting, and three-dimensional work, while the laser handles fine engraving, detailed graphics, photo-style images, and cutting thin stock. Together they cover a remarkable range of projects.
What a laser adds
The laser shines where the router cannot easily go. It engraves fine detail and grayscale images that a cutter cannot reproduce. It marks materials cleanly without contact or cutting forces. And depending on power, it cuts thin materials like paper, thin wood, and some plastics. For makers who sell personalized goods, the ability to engrave detailed designs quickly is a real draw.
Choosing a laser module
Laser modules are rated by optical power, and more power means faster engraving and the ability to cut thicker material. For engraving and light work, a smaller module is plenty, while cutting thin stock benefits from more power. The Genmitsu FL55P 5.5W laser module is a common entry point for engraving. Stepping up, a 10W compressed-spot laser module engraves faster and cuts thin material better, and the Genmitsu L8 20W module pushes into more serious cutting for those who want the extra headroom. Match the module to whether you mostly engrave or also want to cut.
Compatibility to confirm
Before buying a module, check that it fits your machine. Confirm the mounting suits your spindle area or gantry, that your controller can drive the laser, and how the laser is switched and controlled, since some setups use a dedicated output. Also make sure your software can generate laser toolpaths, as engraving and cutting with a laser use different settings than routing. A little checking here prevents a module that does not integrate cleanly.
Setup and workflow
Using the laser well means treating it as its own process. Focus the laser correctly for the material, since focus is to a laser what sharpness is to a cutter. Set power and speed to suit the material and the result you want, testing on scrap first. Secure the material flat so the focus stays consistent across the work. And plan for fume extraction, because burning material produces smoke that needs to be cleared for both visibility and health.
Laser safety is non-negotiable
A laser demands its own safety habits. Always wear laser safety glasses rated for your module’s wavelength, never look at the beam, and never leave a running laser unattended, since burning material is a fire risk. Keep a way to extinguish a small fire within reach, and run fume extraction to clear smoke. Treat the laser with the same respect you give the spinning spindle, and it becomes a safe, versatile addition.
One machine, twice the possibilities
Adding a laser to a CNC router is among the best value upgrades available, because it roughly doubles what a single machine can make. Choose a module matched to your work, confirm it fits your controller and software, set focus and settings carefully, and observe laser safety. Do that, and the machine on your bench quietly becomes two tools in one.