
CNC Router Spoilboard Guide: Compatibility, Setup, and Upgrade Options
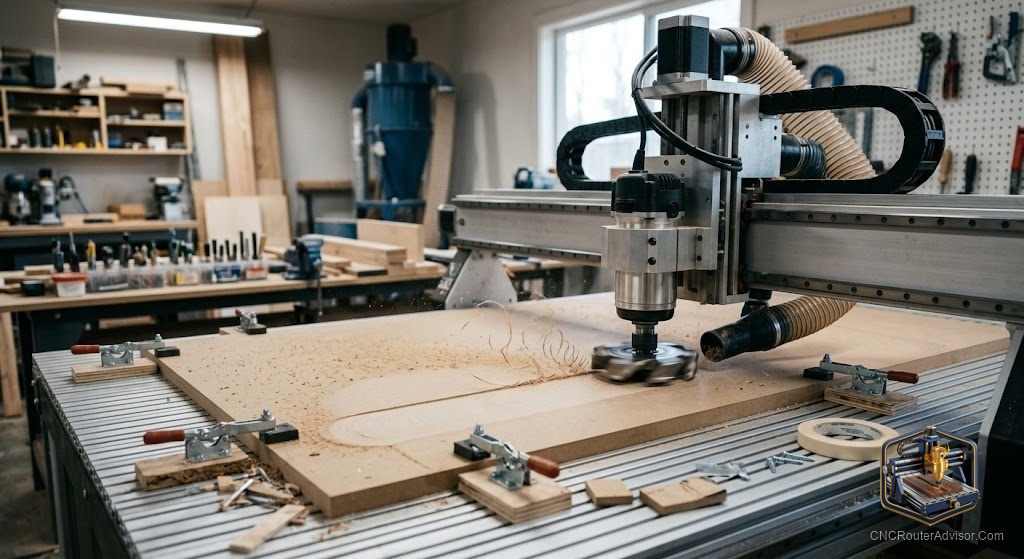
The spoilboard is the unsung hero of a CNC router. It is the sacrificial surface that sits between your cutter and your machine’s bed, and it quietly makes clean through-cuts possible while protecting the machine underneath. Beginners often overlook it, then wonder why their cuts are inconsistent or why they keep nicking their table. Understanding the spoilboard, sometimes called a wasteboard, is one of those small pieces of knowledge that immediately improves your results.
What a spoilboard does
A spoilboard, or wasteboard, is a flat, replaceable surface mounted on the machine bed. Its job is threefold. It gives your cutter something to plunge into when cutting all the way through material, so you can cut clean parts without damaging the machine. It provides a dead-flat reference surface so your material sits true. And it serves as a base for workholding, whether that is clamps, screws, or a hold-down system. Over time it wears and gets marked up, which is exactly the point, since it is designed to be replaced rather than protected.
Why flatness matters so much
A spoilboard is only useful if it is flat and parallel to the machine’s motion. If it is high on one side, your carve depth changes across the workpiece, ruining engravings and leaving inconsistent cuts. This is why surfacing the spoilboard is a standard first step. You run a surfacing bit across the whole board so the machine itself establishes a surface that is perfectly parallel to how it moves. A Whiteside 6210 surfacing bit is a widely trusted tool for this job, clearing a wide, smooth path that flattens the board quickly and leaves a clean reference surface.
Material choices
MDF is the most common spoilboard material, and for good reason. It is flat, stable, affordable, and easy to surface. It also holds up well to screws and clamps. Some users prefer a dedicated hold-down surface with a grid of threaded inserts or a pattern of holes for hold-down clamps, which adds flexibility for workholding. Whatever material you choose, the priorities are flatness, stability, and the ability to be surfaced and replaced without drama.
Setting up your spoilboard
Installing a spoilboard well pays off every time you cut. Mount it securely to the machine bed so it cannot shift. Surface it before serious work so it is flat and parallel to the gantry, and re-surface it periodically as it wears and collects marks. Set your Z-zero relative to the spoilboard or the material top depending on your workflow, and stay consistent so your depths stay predictable. A touch probe or Z-probe makes setting that zero faster and more repeatable.
Workholding on the spoilboard
The spoilboard is your foundation for holding material down. Clamps at the edges, a clamping kit, or screws into the board all keep the workpiece from shifting or lifting, which is essential for both quality and safety. Pair secure hold-down with good dust extraction and chip evacuation so the cut stays clear. The combination of a flat board and solid workholding is what separates clean, repeatable cuts from frustrating ones.
Upgrade paths
As your work grows, the spoilboard is a natural place to upgrade. A threaded-insert board or a modular hold-down system speeds up setup and expands what you can clamp. A dedicated vacuum hold-down is a bigger step that suits production work. But even a simple, well-surfaced MDF board serves most users beautifully. Start there, keep it flat, replace it when it is worn, and it will support every project that crosses your machine.