
Cabinet CNC Router Guide: Compatibility, Setup, and Workflow
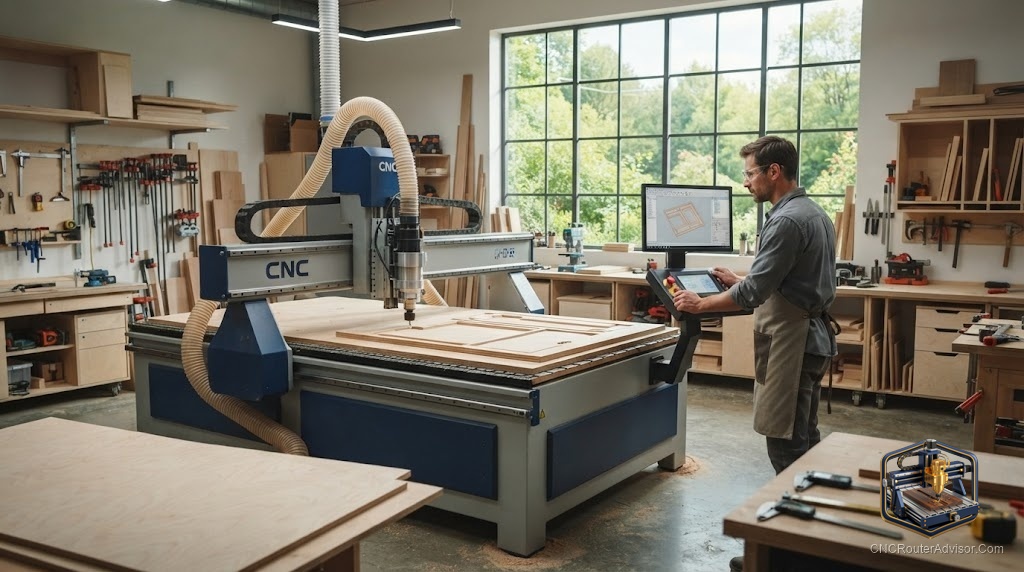
A CNC router transforms cabinet making from a slow, measurement-heavy craft into a fast, repeatable production process, but only when the machine, software, and workflow are set up for cabinetry specifically. Cutting cabinet parts is not just carving; it is nesting full sheets, drilling shelf-pin and construction holes, cutting joinery, and labeling parts so they assemble correctly. This guide covers what makes a CNC router right for cabinet work, how to set it up, and the workflow that turns sheet goods into finished cabinet parts efficiently.
Cabinetry is a distinct application with its own software and workflow needs, so the useful focus is how to configure and run a router for producing cabinet parts, not just whether it can cut.
Using a CNC router for cabinets means setting up the machine, software, and workflow for panel processing: cutting full sheets of plywood or MDF into cabinet parts, drilling shelf-pin and construction holes, and cutting joinery, all nested efficiently and labeled for assembly. The right machine has a work area for full sheets (commonly 4 by 8) or a plan to break sheets down, solid rigidity, a capable spindle, and reliable workholding (often vacuum). The critical software layer is cabinet or nesting CAD/CAM that generates cabinet parts, optimizes sheet layout, and outputs labeled cut files. Setup essentials include a spoilboard, vacuum or clamp workholding, dust collection, and a tool library for the bits cabinetry uses. Compatibility matters: confirm your software outputs to your machine’s control, and match the machine and workholding to full-sheet processing. The payoff is fast, accurate, repeatable cabinet parts.
Set up the machine for full-sheet processing and pair it with cabinet or nesting software; that combination is what makes CNC cabinetry efficient.
What makes a router right for cabinetry
Cabinet work has specific demands:
- Work area for sheets: ideally a full-sheet (4 by 8) bed, or a workflow to break sheets down on a smaller machine. Cabinetry is sheet-goods work, so capacity matters.
- Rigidity and spindle: enough rigidity and spindle power to cut plywood and MDF cleanly at production speed, all day.
- Reliable workholding: vacuum hold-down is common for cabinetry because it secures full sheets without clamps obstructing the tool path. Clamps or a grid table are alternatives.
- Dust collection: sheet-goods cutting generates heavy dust, so effective extraction is essential.
A machine set up for full-sheet processing with strong workholding and dust collection is the foundation of CNC cabinetry.
The software layer: the real key
For cabinetry, software matters as much as the machine:
- Cabinet or nesting CAD/CAM: software that designs cabinet parts (or imports them), automatically nests them to optimize sheet use, and generates toolpaths for cutting, drilling, and joinery. This is what turns a design into efficient cut files.
- Construction holes and joinery: cabinetry software handles shelf-pin holes, construction boring, dados, and rabbets as part of the workflow.
- Labeling and part output: good software labels parts and produces cut lists so assembly is organized, essential when a sheet yields many similar pieces.
Confirm the software outputs to your machine’s controller. The right cabinet software is often what separates efficient CNC cabinetry from a slow, manual process.
Setup essentials
- Spoilboard: a flat, surfaced spoilboard supports through-cuts and protects the bed, important when cutting all the way through sheets.
- Workholding: vacuum hold-down for full sheets, or clamps and a grid table. Reliable hold-down prevents parts shifting during long nested jobs.
- Dust collection: a dust shoe with a strong collector to manage heavy sheet-goods dust.
- Tool library: the bits cabinetry uses, compression bits for clean edges on both faces of plywood, drill bits for shelf-pin and construction holes, and joinery bits, set up in your software.
Getting these right makes cabinet production smooth and repeatable.
A cabinet workflow
- Design or import cabinets in cabinet CAD/CAM software.
- Nest the parts to optimize sheet use and minimize waste.
- Generate toolpaths for cutting, drilling construction holes, and joinery.
- Load and secure a sheet with vacuum or clamps and set zero.
- Run the job, cutting, drilling, and labeling parts.
- Unload, verify labels, and assemble.
This workflow turns full sheets into finished, labeled cabinet parts quickly and accurately, with strong repeatability across runs.
The verdict
A CNC router transforms cabinet making into a fast, repeatable process, but only when set up for panel processing. The right machine has a work area for full sheets (or a plan to break them down), solid rigidity, a capable spindle, and reliable workholding, usually vacuum, plus effective dust collection. Just as important is the software layer: cabinet or nesting CAD/CAM that designs or imports parts, optimizes sheet layout, handles construction holes and joinery, and outputs labeled cut files to your machine’s control. Set up a spoilboard, workholding, dust collection, and a proper tool library, then run a nesting-based workflow. Done right, CNC cabinetry delivers fast, accurate, repeatable parts.
Three things to take with you:
- Cabinetry is full-sheet panel processing, so choose a machine with sheet capacity (or a break-down plan), rigidity, a capable spindle, reliable workholding, and strong dust collection.
- The software layer is the real key: cabinet or nesting CAD/CAM that optimizes sheet layout, handles construction holes and joinery, and outputs labeled cut files to your control.
- Set up a spoilboard, vacuum or clamp workholding, dust collection, and a cabinetry tool library, then run a nest-cut-drill-label workflow for fast, repeatable parts.
FAQ
Can a CNC router make cabinets? Yes, and it transforms cabinet making into a fast, repeatable process. Set up for panel processing, a router cuts full sheets into cabinet parts, drills shelf-pin and construction holes, and cuts joinery, all nested efficiently and labeled for assembly, provided you pair the machine with cabinet or nesting software.
What size CNC router do I need for cabinets? Ideally a full-sheet (4 by 8) machine, since cabinetry is sheet-goods work. If that is too large, a smaller machine can work with a workflow to break sheets down first, though it is slower and less convenient than processing full sheets directly.
What software is used for CNC cabinetry? Cabinet or nesting CAD/CAM that designs or imports cabinet parts, automatically nests them to optimize sheet use, generates toolpaths for cutting, drilling, and joinery, and outputs labeled cut files. This software layer is as important as the machine and is what makes CNC cabinetry efficient. Confirm it outputs to your control.
What workholding is best for cutting cabinet parts? Vacuum hold-down is common for cabinetry because it secures full sheets without clamps obstructing the tool path, allowing continuous nested cutting. Clamps or a grid table are alternatives. Reliable hold-down is essential to prevent parts shifting during long jobs that cut many pieces from one sheet.
What bits do I need for cabinet making on a CNC? Compression bits for clean edges on both faces of plywood, drill bits for shelf-pin and construction holes, and joinery bits for dados and rabbets, all set up in your tool library. Matching the right bits to plywood and MDF is key to clean, chip-free cabinet parts.
How does a CNC router improve cabinet making? It replaces slow, measurement-heavy manual work with fast, accurate, repeatable machine cutting. Once a design is nested, the router cuts, drills, and labels parts consistently across runs, reducing errors and speeding production, especially valuable when a sheet yields many similar pieces that must assemble precisely.
References
- Wikipedia, CNC router and panel processing: https://en.wikipedia.org/wiki/CNC_router
- CNC Cookbook, nesting and cabinetry workflow: https://www.cnccookbook.com