
Table Top Router CNC: Setting Up Your Machine and Getting the Most From a Small Footprint
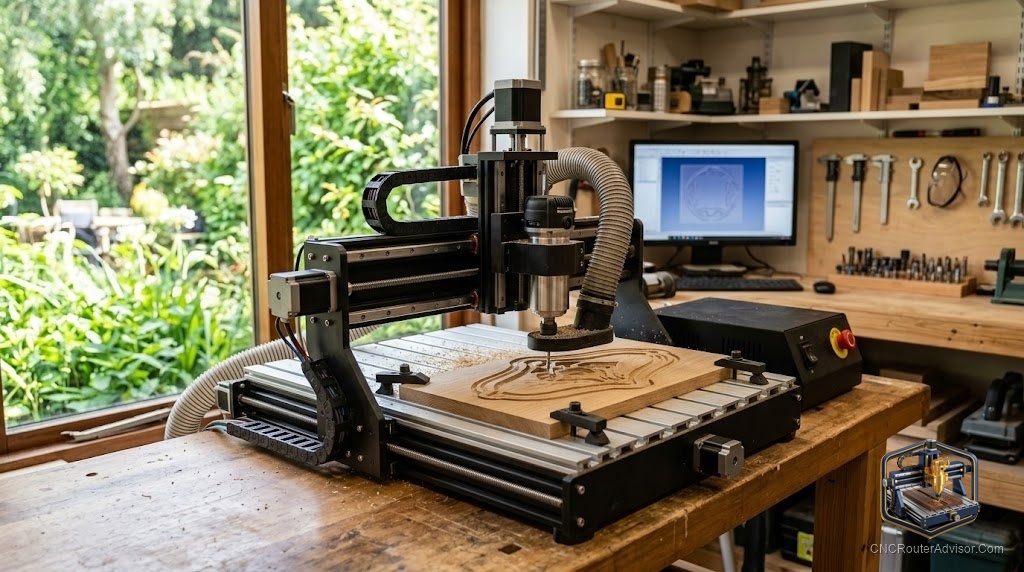
Owning a tabletop CNC router and getting the most out of one are two different things, and the gap between them is almost always setup and workflow. The machine itself is capable within its class, but how you set it up, level it, zero it, hold your material, and sequence your cuts determines whether you get clean results reliably or fight inconsistency on every job. A well-set-up tabletop router punches well above its size. A poorly set-up one, whatever it cost, wastes the capability you paid for.
A table top router CNC is a compact CNC router that sits on a workbench, and getting the most from it is a matter of proper setup: a flat, rigid surface, a correctly trammed spindle, reliable workholding, good zeroing habits, and a workflow that keeps the machine’s modest rigidity working for you rather than against it. Setup is what converts the machine’s potential into consistent results.
Here is the direct guidance: the setup steps that most affect performance on a tabletop machine are leveling and tramming, reliable workholding, a repeatable zeroing routine, and choosing cuts that suit the machine’s rigidity, with shallow passes and conservative feeds rather than aggressive depths. The sections below cover each setup step and how to maintain it.
Start with the surface: level and rigid
The surface the machine sits on directly affects its accuracy. An uneven or flexing surface transmits movement to the machine, which shows up in cut quality. Put the machine on a rigid, flat bench, check that it is level, and fasten it if the machine allows. Before cutting, resurface the spoilboard so it is perpendicular to the spindle path, since a twisted or warped spoilboard gives you inconsistent depth across the work area. This single step solves more mysterious cut problems than any other.
Tramming the spindle
Tramming is adjusting the spindle so it is perpendicular to the bed in both axes. An un-trammed spindle leaves a ridge at the center of wide passes and produces uneven depths on 3D carving. Tram by facing a flat board and checking with a dial indicator or a simple tramming tool; adjust the spindle mount until both axes are flat. On a tabletop machine, tramming may shift over time, especially after any disassembly, so check it periodically rather than once and forgetting.
Workholding for small machines
Small machines need reliable workholding to hold thin and light material flat, since light material lifts more easily than heavy stock. A spoilboard with T-track or threaded inserts, combined with clamps, is the standard solution. Clamp firmly but without racking the material. For very thin stock, double-sided tape or a vacuum hold-down adds grip. Leaving holding tabs in the design keeps cut parts attached until you release them by hand.
Zeroing and a repeatable routine
A consistent zeroing routine is what makes results repeatable across sessions. Use the same reference point (usually the material corner or center, depending on your design) every time, set Z zero at the material surface for most jobs, and confirm the zero before starting. Tabletop machines often lack touch plates as standard, so a folded paper zero-check is a free and reliable alternative.
Cuts suited to the machine
A tabletop machine rewards cuts that work with its modest rigidity: shallow passes, conservative feeds, and sharp bits. Aggressive depths and fast feeds stress a light frame, causing chatter and poor finish. Shallow passes take more time but produce better results, and on a small machine that trade-off is almost always worth it.
For a broader look at the machine itself, see our guide to the table top CNC router covering work area, tiers, and machine picks.
Final verdict
A table top router CNC repays setup attention more than any other class of machine, because a light frame amplifies any weakness in leveling, tramming, workholding, and zeroing. Get those four right, choose shallow passes with conservative feeds, and the machine consistently delivers clean results within its class. Skip any of them, and inconsistency will follow you through every job. The machine is capable; setup is what releases that capability.
FAQ
Why does the surface matter for a tabletop CNC router? An uneven or flexing surface transmits movement to the machine, hurting accuracy. A rigid, flat, level bench and a resurfaced spoilboard eliminate many mysterious cut problems.
What is tramming and why does it matter? Tramming adjusts the spindle to be perpendicular to the bed. An un-trammed spindle leaves ridges in wide passes and uneven depths in 3D work, so checking it periodically is part of machine maintenance.
How should I hold material on a tabletop router? With clamps on a T-track or threaded-insert spoilboard for most work, double-sided tape for very thin stock, and holding tabs in the design to keep cut parts attached until the job finishes.
How do I zero reliably without a touch plate? A folded paper zero-check is reliable and free: lower the bit until it just catches the paper on the material surface, then set that as Z zero. Use the same XY reference point (corner or center) every session.
Should I use deep or shallow passes on a tabletop router? Shallow passes, consistently. A light frame is stressed by aggressive depths, producing chatter and poor finish. Shallow passes take longer but produce cleaner results on a compact machine.
How often should I resurface the spoilboard? When it shows uneven depth across the work area, or after any disassembly or machine move. Resurfacing takes a few minutes and often resolves inconsistent cut depths across the bed.
References
- SainSmart Genmitsu, setup and calibration guides: https://www.sainsmart.com/blogs/news
- Carbide 3D, tramming and workholding reference: https://carbide3d.com
- GRBL project, zeroing and homing documentation: https://github.com/gnea/grbl/wiki