
Make CNC Router Explained: Uses, Setup, and Key Considerations
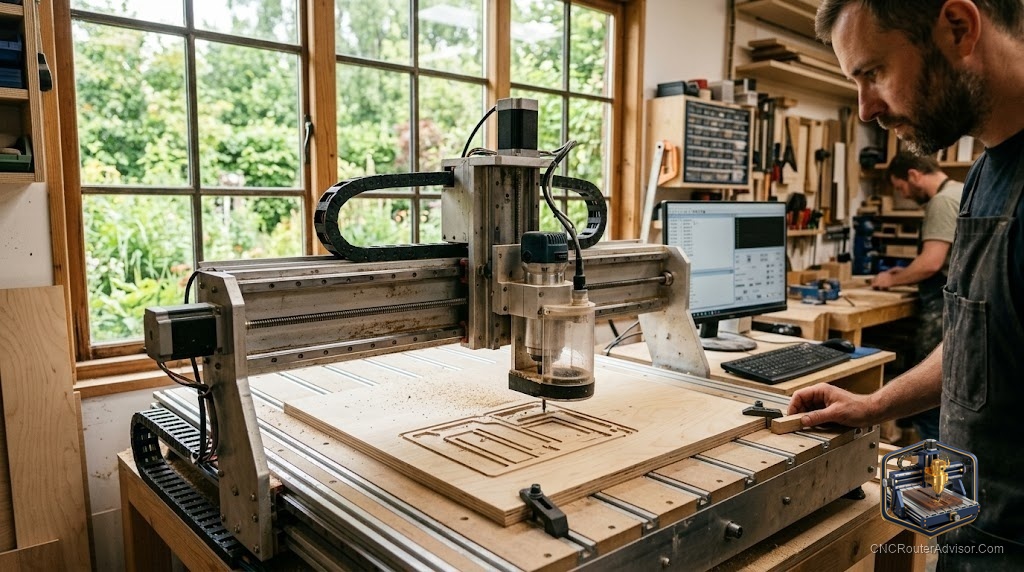
There is a moment in almost every maker’s journey when the thought arrives: what if I just built the machine myself? Making your own CNC router is a rite of passage, a genuine engineering project, and occasionally a cautionary tale. Done with a clear plan and realistic expectations, it produces a machine tailored to your shop and a deep understanding you cannot buy. Done on a whim, it produces a frame in the corner and a box of parts that never quite came together.
To make a CNC router is to design and build the machine yourself, choosing the frame, motion system, spindle, and controller, and it makes sense when you want a custom size, a lower parts cost, or the knowledge that comes from building. This guide explains what building involves, how the setup goes, and the key considerations that decide whether a homemade machine succeeds.
Why make one instead of buying
The honest reasons to build rather than buy:
- Custom size and specification, matching a work area and capability no off-the-shelf machine offers.
- Lower parts cost at larger sizes, if you value your time at zero.
- The knowledge, since building teaches you the machine so thoroughly that repairs and upgrades become easy.
- The project itself, because for many makers the build is the point.
The honest reasons not to: you want to be cutting soon, you dislike troubleshooting, or you need guaranteed accuracy without iteration.
What building involves
A build is a sequence of decisions and assembly steps:
- Design and size. Decide the work area first, since it drives every component choice and cost. Use a proven plan for a first build.
- Frame. Aluminum extrusion is forgiving, steel is rigid but needs fabrication, and torsion-box plywood is a budget path.
- Motion system. Belts are cheap and fast, lead screws are accurate at small sizes, and ball screws are the most rigid and precise.
- Electronics. Stepper motors, drivers, a controller board, a power supply, limit switches, and an emergency stop.
- Spindle. A trim router is simple and cheap, a VFD water-cooled spindle is quieter and more powerful.
- Assembly. Build the frame square, install motion, mount the gantry, wire everything, and mount the spindle.
- Calibration. Set steps per unit so commanded moves match measured moves, then cut a test part.
Setup and calibration: where builds are won
The difference between a homemade machine that cuts accurately and one that does not is almost never the parts. It is the setup. The frame must be square and flat, checked by diagonals, because a racked frame cuts inaccurate parts forever. The motion must be free of slop and backlash. And calibration must be honest: command a 100mm move, measure it, and tune the steps until they match. Skipping calibration is the most common reason a build disappoints.
Key considerations before you start
- Time. A first build takes real time and troubleshooting. Be honest about your patience.
- Skills. Basic wiring, mechanical assembly, and a willingness to learn software are required. Steel frames also need fabrication skills.
- Start from a plan. A proven design removes most of the risk. Designing from scratch stacks a big learning burden on an already demanding project.
- Budget the extras. Bits, workholding, dust control, and a computer are part of the real cost.
- Safety. Wire an emergency stop, plan dust collection, and enclose moving parts. A homemade machine is still a powerful tool.
The honest verdict
Making a CNC router is deeply rewarding for the maker who enjoys building and wants a custom machine and real knowledge, and frustrating for the one who just wants finished parts quickly. If you build, start from a proven plan, decide your work area first, get the frame dead square, and treat calibration as the step that actually determines success. Approach it as an engineering project with a learning curve, not a shortcut to a cheap machine, and you will end up with a tool you understand better than any you could buy.
Frequently asked questions
Is it worth making your own CNC router? It is if you want a custom size, enjoy building, and value the knowledge for future repairs and upgrades. It is not if you want to be cutting parts quickly.
Is building cheaper than buying? It can be, especially at larger sizes, but only if you value your time at zero. Factor the hours of building and troubleshooting into the real cost.
What frame should I use for a homemade CNC? Aluminum extrusion is the most forgiving for a first build, steel is the most rigid but needs fabrication, and torsion-box plywood is a budget option.
Do I need special skills to build one? Basic wiring, mechanical assembly, and a willingness to learn the software. Steel frames also require fabrication skills. A proven plan reduces the learning curve.
Should I design from scratch or follow a plan? Follow a proven plan for a first build. Designing from scratch adds a large engineering and learning burden to an already demanding project.
What is the most important step in a build? Getting the frame square and flat, then calibrating so commanded moves match measured moves. Skipping calibration is the top reason homemade machines disappoint.
How long does a first build take? Expect a weekend or considerably more, plus troubleshooting time. The assembly is methodical, but squaring, wiring, and calibration all take patience.