
Aluminum Extrusion CNC Router Guide: Tooling, Speeds, Workholding, and Finish Quality
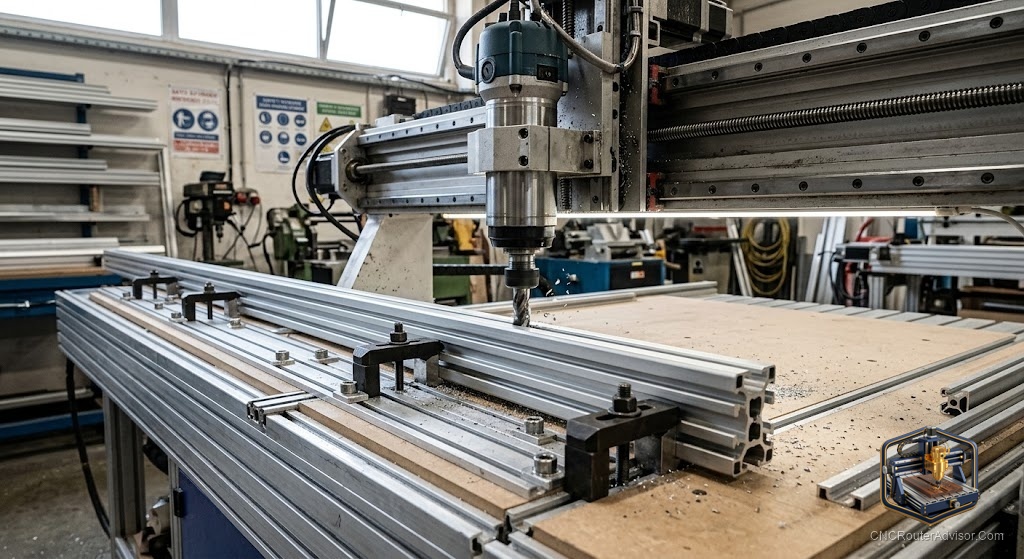
Aluminum extrusion sits at an interesting crossroads for CNC router owners. It’s both a material you cut - those 6000-series profiles used for frames and brackets - and a material many machines are built from. Understanding both sides makes you a better machinist, because the same qualities that make extrusion great to build with also make it wonderfully machinable. Here’s the practical guide to cutting it well.
Extrusion: the beginner’s best metal
If you’ve never cut metal on your router, extruded aluminum is the place to start. It’s softer and freer-cutting than solid billet, dimensionally consistent, and it clears chips readily. That combination forgives a lot while you learn. The two things it won’t forgive are the same two that plague all aluminum work: heat and chatter. Beat those and extrusion cuts beautifully.
Does your machine have what it takes?
Extrusion doesn’t require a massive machine, but it demands frame rigidity. Flex becomes chatter, chatter becomes a poor finish and tool breakage. Prioritize:
- A stiff steel frame or heavy aluminum-extrusion chassis
- Precision linear rails
- A ball screw or solid lead screw drive (belts stretch under metal-cutting loads)
- A tunable VFD spindle, even a modest 700W-class one, so you can match RPM to the material
Tooling: make room for chips
The number-one rookie mistake is a wood bit. Aluminum needs open flutes:
- A single-flute end mill (O-flute) gives chips maximum room to escape - the SpeTool O-flute upcut for aluminum is the ideal first bit.
- For taller profiles, a long-reach EANOSIC single-flute keeps the collet clear.
- For finishing passes, small SpeTool aluminum end mills leave clean walls.
Coatings like ZrN reduce the aluminum-sticking that dulls edges quickly.
Speeds and feeds: feed with confidence
Here’s the counterintuitive truth: going too slow ruins aluminum. Low feed rate at high spindle RPM makes the bit rub, heat builds, and molten aluminum welds into the flutes. Maintain a real chip load - moderate RPM, confident feed, shallow-to-moderate depth. You’re aiming for small chips flying off, not powder and not a smeared, shiny bit.
Cooling and chip evacuation
Manage heat and you win:
- Cutting fluid or WD-40 for light jobs
- A cold air gun for clean, mess-free cooling
- A mist coolant system for sustained cuts
And prioritize chip evacuation - recut chips are the top cause of ruined finish and snapped bits in aluminum.
Workholding: use the slots
Extrusion’s built-in T-slots and channels are a workholding gift. Bolt profiles down through their own slots, or clamp to the machine’s T-track. The goal of workholding is zero movement - aluminum transmits vibration instantly, so anything loose becomes chatter. Support long profiles along their length so they don’t drum like a tuning fork.
Finish quality checklist
- Correct chip load (chips, not dust)
- Lubricant or mist on the cut
- Rigid, flat workholding
- Sharp aluminum-specific single-flute bit, minimal stick-out
- A light finishing pass
The bottom line
Aluminum extrusion is the friendliest possible introduction to metal on a CNC router. Keep the machine rigid, run a single-flute bit, feed confidently to hold your chip load, cool the cut, and clamp through the profile’s own slots. Respect those rules and extrusion rewards you with mirror-clean edges and the confidence to tackle tougher metal next.
Frequently asked questions
Is extrusion easier than solid aluminum? Yes - it’s softer, more consistent, and clears chips well, making it the ideal first metal to machine.
Do I need a special spindle? Not special, but tunable. A VFD spindle lets you set the right RPM; a fixed-speed trim router is workable but limits you.
How do I stop chatter? Improve rigidity and workholding first, then confirm your chip load is right. Chatter almost always traces back to flex or a rubbing bit.