
CNC Foam Router: Tooling, Speeds, Workholding, and Finish Quality
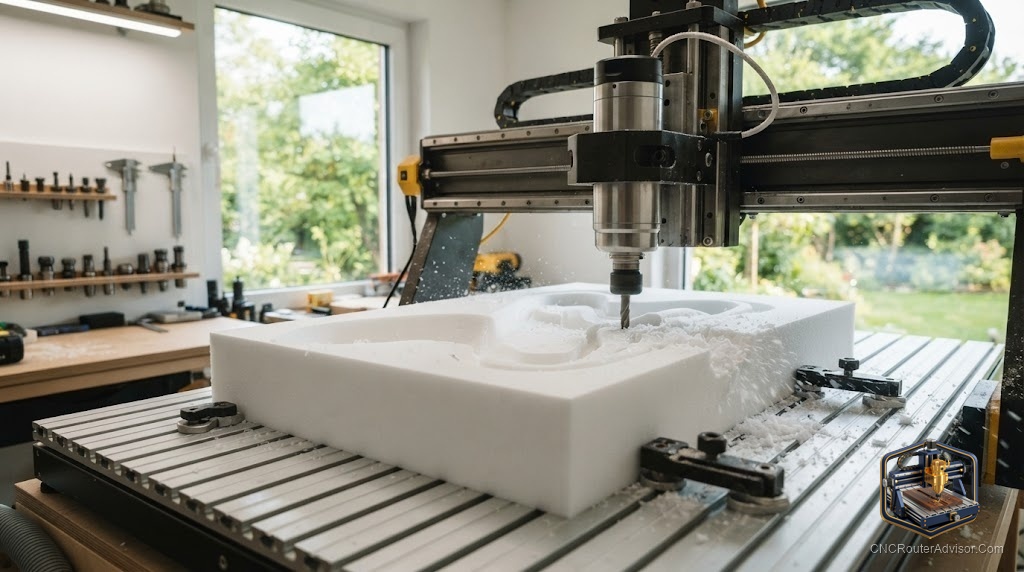
Cutting foam on a CNC router looks easy, and in some ways it is: foam is soft, so the machine barely works. But foam has its own quirks that catch people out, it melts if you cut it wrong, it tears with dull tools, and it moves under vacuum or clamps if you hold it wrong, so the details of tooling, speeds, workholding, and finishing decide whether you get clean foam parts or a fuzzy, torn mess. Foam is used for patterns, molds, signage, props, insulation, and packaging, and this guide covers how to cut it well.
Foam is soft but not effortless, so the useful focus is the tooling, speeds, workholding, and finishing choices that produce clean foam parts rather than melted or torn ones.
Cutting foam on a CNC router is easy on the machine but has its own requirements for clean results. Tooling: use sharp bits, often single-flute or O-flute upcut bits or dedicated foam cutters, which shear foam cleanly and clear the light debris; specialized tapered ball nose bits suit 3D foam carving. Speeds and feeds: foam cuts at high feed rates and you can take deep passes since it offers little resistance, but avoid excessive RPM with the wrong bit, which generates heat and melts some foams (especially polystyrene and other thermoplastics). Workholding: because foam is light and easily crushed, hold it gently but securely, with low-vacuum hold-down, light clamping, double-sided tape, or a spoilboard with tabs, avoiding pressure that dents it. Finish quality: sharp tools and the right feeds give clean edges, though open-cell and bead foams can leave fuzz needing light finishing. Dust and debris: foam produces clingy, static-prone debris, so dust collection helps. Match the approach to the specific foam, since foams differ widely.
Use sharp single-flute bits, high feeds without melting RPM, gentle secure workholding, and match everything to the specific foam.
Understanding foam as a material
Foam is not one material, it is many, and they behave differently:
- Rigid polyurethane and tooling board: cut cleanly and hold detail well, ideal for patterns and molds.
- Expanded and extruded polystyrene (EPS, XPS): light and easy to cut but thermoplastic, so heat from the wrong tool or too-high RPM can melt and gum them.
- Open-cell foams: softer and prone to fuzz and tearing, needing very sharp tools.
- High-density foams: cut cleaner and hold finer detail than low-density ones.
Knowing your specific foam guides every other choice, so identify it first.
Tooling
Sharp, chip-clearing bits. Foam needs sharp tools that shear cleanly rather than tear:
- Single-flute or O-flute upcut bits are excellent, they shear foam cleanly and their open geometry clears the light, bulky debris foam produces.
- Dedicated foam cutters exist for specific foams and larger removal.
- Tapered ball nose bits suit 3D foam carving, giving smooth contours with strength for fine detail.
Dull bits tear and fuzz foam, so keep tools sharp. Because foam is abrasive-free and soft, bits last a long time in it.
Speeds and feeds
Foam’s softness changes the usual rules:
- High feed rates: foam offers little cutting resistance, so you can move fast, speeding up jobs dramatically.
- Deep passes: you can often cut deep in a single pass, since there is little load on the tool.
- Watch RPM and heat: the main risk is heat. Excessive RPM with the wrong bit can melt thermoplastic foams (polystyrene especially). Use a moderate RPM and high feed to keep the tool moving and heat low, and prefer bits that clear chips well.
The goal is a clean shearing cut without dwelling long enough to melt the foam.
Workholding
Foam is light and crushes easily, so hold it gently but securely:
- Low-vacuum hold-down works well for sheets without denting them; heavy vacuum can crush soft foam.
- Light clamping at the edges, avoiding pressure that dents the surface.
- Double-sided tape secures smaller pieces to the spoilboard without clamping force.
- Tabs in the toolpath keep cut parts from shifting until removed.
The challenge is holding a light, crushable material firmly enough that it does not move but gently enough that it is not damaged.
Finish quality and debris
Finish. Sharp tools and correct feeds give clean edges on rigid and high-density foams. Open-cell and bead foams (like EPS) can leave fuzz or a slightly rough surface that needs light sanding or finishing. A finishing pass with a sharp bit and small stepover improves 3D surfaces.
Dust and debris. Foam produces light, clingy, static-prone debris that gets everywhere. Dust collection helps considerably, and managing static (and the mess) is part of foam work. For melting-prone foams, keeping debris clear also helps avoid re-melting.
The verdict
Cutting foam on a CNC router is easy on the machine but rewards attention to detail. Use sharp single-flute or O-flute upcut bits (or dedicated foam cutters, and tapered ball nose bits for 3D carving) that shear cleanly and clear foam’s bulky debris. Run high feed rates and deep passes since foam offers little resistance, but keep RPM and heat moderate to avoid melting thermoplastic foams like polystyrene. Hold the light, crushable material gently but securely with low vacuum, light clamping, tape, or tabs, and expect clean edges on rigid foams while open-cell foams may need light finishing. Manage the clingy debris with dust collection, and match every choice to your specific foam. Get these right and foam parts come off the machine clean and accurate.
Three things to take with you:
- Use sharp single-flute or O-flute upcut bits that shear foam cleanly and clear its bulky debris; tapered ball nose bits suit 3D foam carving.
- Run high feeds and deep passes since foam offers little resistance, but keep RPM and heat moderate to avoid melting thermoplastic foams like polystyrene.
- Hold the light, crushable foam gently but securely (low vacuum, light clamping, tape, or tabs), manage clingy debris with dust collection, and match everything to your specific foam.
FAQ
Can a CNC router cut foam? Yes, and it cuts foam easily since foam is soft and offers little resistance. Foam is commonly cut on CNC routers for patterns, molds, signage, props, insulation, and packaging. The key to clean results is the right tooling, feeds, workholding, and finishing, matched to the specific foam.
What bit should I use to cut foam on a CNC router? Sharp single-flute or O-flute upcut bits are excellent, since they shear foam cleanly and clear its light, bulky debris. Dedicated foam cutters suit some foams and larger removal, and tapered ball nose bits work well for 3D foam carving. Keep bits sharp, since dull tools tear and fuzz foam.
Why does my foam melt when I cut it? Because many foams (especially polystyrene and other thermoplastics) melt from heat, and excessive RPM with the wrong bit generates that heat. Use a moderate RPM with a high feed rate to keep the tool moving and heat low, and choose bits that clear chips well so debris does not build up and re-melt.
How do I hold foam on a CNC router? Gently but securely, since foam is light and crushes easily. Use low-vacuum hold-down (heavy vacuum can crush soft foam), light edge clamping, double-sided tape for smaller pieces, or tabs in the toolpath. The goal is to stop the foam moving without denting or crushing it.
Can you speed up cutting foam? Yes. Because foam offers little cutting resistance, you can use high feed rates and often deep passes, cutting foam much faster than harder materials. The main limit is heat, so keep RPM moderate to avoid melting thermoplastic foams, and let high feeds rather than high RPM do the work.
How do I get a smooth finish on foam? Use sharp tools and correct feeds for clean edges, and a finishing pass with a small stepover for 3D surfaces. Rigid and high-density foams finish cleanly, while open-cell and bead foams (like EPS) may leave fuzz needing light sanding. Managing static-prone debris with dust collection also helps keep surfaces clean.
References
- Wikipedia, foam and foam machining overview: https://en.wikipedia.org/wiki/Foam
- CNC Cookbook, cutting foam and feeds and speeds: https://www.cnccookbook.com