CNC Router Wood Signs Guide: Tooling, Speeds, Workholding, and Finish Quality
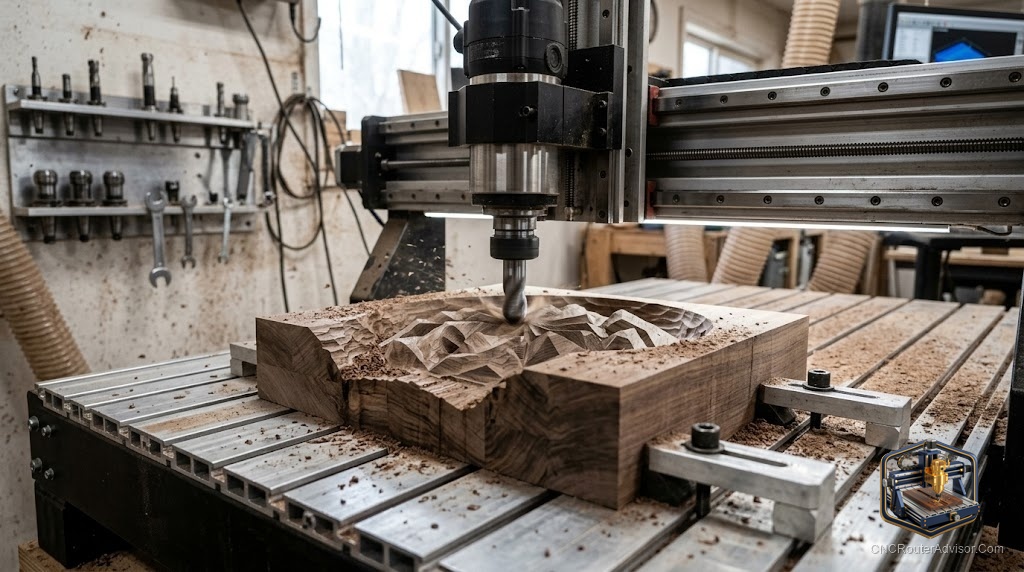
Wood signs are the project that sells a CNC router to its owner twice: first when you buy the machine, and again the first time a carved sign comes off the bed looking like it belongs on a storefront. Signs are also the most popular way people earn back the cost of the machine, because a blank board and an hour of run time turn into something people happily pay for. The gap between a hobby sign and a sellable one is almost entirely in the details covered here.
Making wood signs on a CNC router comes down to the right bits, mainly a V-bit for lettering and a clearing bit for backgrounds, sensible feeds and speeds, flat and secure workholding, and finishing choices like paint fills and sanding that make the carving pop. This guide walks the whole path from board to finished sign so your results look professional, not homemade.
Sign styles and the tooling they need
Most wood signs fall into a few styles, each with its own tooling:
- V-carved signs. Crisp, pointed lettering cut with a V-bit, usually 60 or 90 degrees. The signature look, and the easiest to do beautifully.
- Raised or dimensional signs. The background is cleared away, leaving text and art proud of the surface. Needs a clearing or pocketing bit plus a V-bit or ball nose for detail.
- Engraved signs. Shallow line or pocket engraving, often filled with paint or epoxy.
- Cutout lettering and shapes. Individual letters or logos cut all the way through, using a downcut or compression bit for clean edges.
A V-bit and a 1/8 or 1/4 inch downcut cover a surprising amount of sign work on their own.
Speeds, feeds, and clean lettering
Sharp lettering comes from a sharp bit and a feed rate that shears the wood cleanly. Keep the chip load in a normal wood range and let the sound guide you: a steady cutting note is right, while a high whine and fine dust mean you are rubbing and about to burn. For V-carving, a light finishing pass that just cleans the walls gives the crispest letter edges. Tight-grained woods like maple, cherry, and poplar hold detail far better than open-grained or very soft woods, which is why sign makers reach for them.
Workholding for flat, even carves
Sign carving depth is only as even as the board is flat and secure. A cupped board gives letters that are deep on one side and faint on the other. Hold it well:
- Surface the spoilboard so it is true to the machine.
- Clamp the board around the perimeter, clear of the toolpath.
- For thin or warped stock, tape and CA glue pull it flat.
- Surface the face of rough or reclaimed boards first so the carve depth is consistent.
Finishing: where signs are won
The carving is half the job. Finishing is what makes it sell:
- Paint fill. Paint the surface, carve or mask, then sand back so paint stays only in the recesses. Or carve first, fill the letters, and sand the surface clean. Both make lettering pop.
- Pre-finishing. Sealing or painting the face before carving means the carved walls show clean, contrasting wood, cutting down on messy cleanup.
- Sanding. Light sanding removes fuzz, especially on softer woods. A downcut bit leaves less fuzz to begin with.
- Sealing. A topcoat protects the sign, especially for anything going outdoors, where species and finish choice matter for weather.
The honest verdict
Great wood signs are less about a fancy machine and more about a sharp V-bit, a flat and well-held board, tight-grained wood, and disciplined finishing. Nail those and even an entry machine produces signs people pay for. The most common mistakes are a warped board that carves unevenly and skipping the paint-fill and sanding steps that separate a craft-fair sign from a professional one. Get the board flat, keep the bit sharp, and spend real effort on the finish.
Frequently asked questions
What bit do I use for carving letters in signs? A V-bit, typically 60 or 90 degrees, for crisp V-carved lettering. Add a clearing or pocketing bit for raised backgrounds and a downcut for clean cutouts.
What wood is best for CNC signs? Tight-grained woods like maple, cherry, and poplar hold fine detail best. Open-grained and very soft woods lose crispness and fuzz more.
How do I get crisp letter edges? Use a sharp V-bit, keep the feed rate shearing the wood cleanly, and run a light finishing pass on the letter walls. A flat, well-held board keeps depth even.
How do I fill carved letters with color? Paint fill: either paint the surface and sand back so color stays in the recesses, or carve, fill the letters, and sand the face clean. Pre-sealing helps.
Why is my carve deeper on one side? The board is not flat or not held securely. Surface the spoilboard, clamp firmly, and surface the board face so the carve depth is consistent.
How do I reduce fuzz on softwood signs? Use a downcut bit, keep the tool sharp, and plan a light sanding pass. Tight-grained woods fuzz less than soft or open-grained species.
Can I make signs to sell on an entry machine? Yes. Sign work is forgiving of a lighter machine. A sharp V-bit, flat workholding, good wood, and careful finishing matter far more than machine size.