
CNC Router Plywood Cutting Guide: Tooling, Speeds, Workholding, and Finish Quality
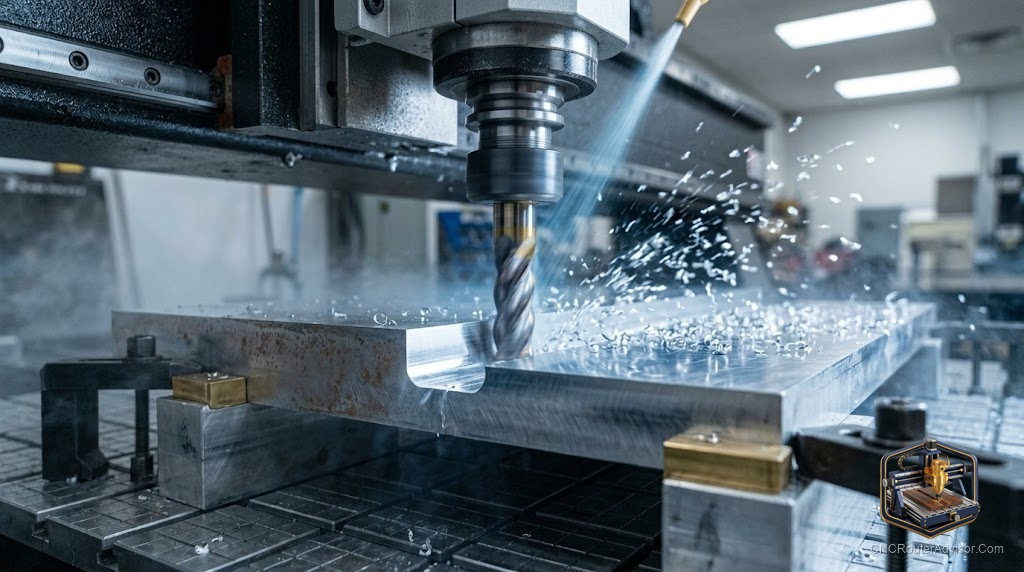
Plywood looks like the easy material and then quietly humbles people. It splinters on the top face, tears out on the bottom, hides hard glue lines that dull bits, and lifts off the spoilboard the moment a tab lets go. Cut it well and it is the most useful sheet good a router touches: cheap, stable, and strong. Cut it carelessly and every edge needs sanding and every part fights you.
Cutting plywood on a CNC router comes down to four things done right: a compression bit to protect both faces, sensible feeds and speeds, workholding that keeps the sheet flat and captured, and tabs or a good spoilboard so parts do not shift when they cut free. Get those four aligned and plywood edges come off the machine clean enough to finish with barely any sanding.
Tooling: the compression bit is the whole game
Plywood has two show faces, and that is exactly what a compression bit is built for. Its upcut section at the tip pulls the bottom veneer’s fibers down and inward, while the downcut section above presses the top veneer down, so both faces stay crisp instead of fraying. For full-depth cuts through 1/2 inch or 3/4 inch ply, a compression bit is the difference between clean parts and fuzzy ones.
If you only have upcut or downcut bits, know the trade: an upcut clears chips and cuts fast but frays the top veneer, while a downcut protects the top but packs chips and can splinter the bottom. Use a downcut when only the top face shows. Whatever you run, keep it sharp, because plywood glue lines dull bits faster than solid wood.
Speeds, feeds, and pass depth
Plywood likes a healthy feed rate so the bit shears fibers instead of rubbing and burning them. Keep the chip load in a normal wood range, roughly 0.009 to 0.011 inch for a 1/4 inch bit in hardwood-faced ply, and adjust by sound and chip size. If you see fine dust and smell burning, feed faster or slow the spindle.
For pass depth, a compression bit needs its first pass deep enough to get the upcut-to-downcut transition below the top surface, otherwise the top face still frays. After that, step down in sensible increments rather than trying to hog full thickness in one pass on a light machine.
Workholding and the lifting problem
Plywood sheets bow, and a bowed sheet ruins cut depth and finish. Hold it flat and hold it down everywhere:
- A flat spoilboard is non-negotiable. Surface it so it is true to the machine.
- Screws into the spoilboard through waste areas are the most reliable hold for full sheets.
- Perimeter clamps plus a surfaced spoilboard work for smaller pieces.
- A vacuum table is ideal for production but is overkill for occasional work.
Then keep parts from moving as they cut free. Onion skinning, leaving a thin skin at the bottom, or small tabs hold parts in place until you release them by hand. Without them, a freed part can shift into the bit and wreck itself.
Finish quality tips
- Cut with the good face oriented to match your bit choice, top-up for a downcut, both-faces protected with a compression bit.
- A light finishing pass that leaves a few thousandths for the last cut gives the cleanest edge.
- Climb versus conventional direction affects edge quality, so if one edge fuzzes and the opposite is clean, your cut direction is the reason.
- Sacrificial backing under thin ply stops blowout on the bottom face.
The honest verdict
Plywood is forgiving of almost everything except the wrong bit and a bowed sheet. Run a sharp compression bit set deep enough on the first pass, keep the feed up so you shear rather than burn, clamp the sheet dead flat to a surfaced spoilboard, and hold parts with tabs or an onion skin. Do that and plywood becomes the reliable, low-cost workhorse it should be, with edges that need a scuff of sandpaper at most.
Frequently asked questions
What bit is best for cutting plywood? A compression bit. Its upcut tip and downcut upper section keep both the top and bottom veneers clean, which is exactly what plywood’s two show faces need.
Why does my plywood fray on top? Usually an upcut bit lifting the top veneer, or a compression bit whose transition point sits above the surface. Use a downcut or compression bit and set the first pass deeper.
Why do the bottom edges tear out? Blowout on the bottom face, common with downcut bits or without backing. Use a compression bit and a sacrificial backer under thin sheets.
How do I keep parts from shifting when they cut free? Leave small tabs or an onion skin at the bottom so parts stay captured until you release them by hand after the cut finishes.
What feed and speed should I use for plywood? A healthy feed that keeps the chip load in a normal wood range and shears fibers rather than rubbing. If you smell burning, feed faster or slow the spindle.
Do I need a vacuum table for plywood? No. Screws into a surfaced spoilboard through waste areas hold full sheets reliably. A vacuum table helps production but is overkill for occasional work.
Why do plywood cuts dull my bits so fast? The glue lines between veneers are abrasive. Expect faster wear than solid wood, keep bits sharp, and consider quality tooling for frequent plywood work.